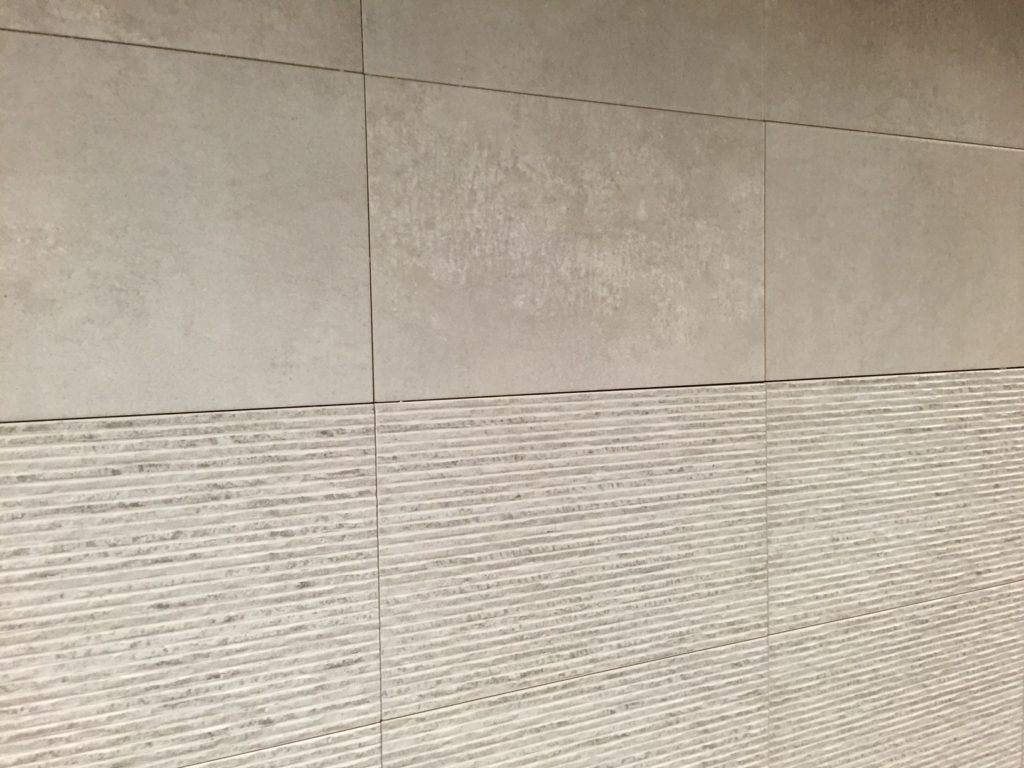
Ceramic Tiles
Installing Ceramic Tiles: Top tips
When it comes to tiling, ceramic tiles are some of the most popular tiling choices. This is partly because of the vast range of designs, patterns, textures and colours that ceramic tiles can offer. However, it is also because of how easy they are to install. As long as you know how! Here at Tiles 2 Go we are Preston’s leading tiling experts. As a result, we have produced this guide to installing ceramic tiles.
Tools
Installing ceramic tiles doesn’t take as many tools as you might think. In fact, for straight forward walls and floors, you will only need:
- your tiles
- tile spacers
- tape measure
- manual tile cutter
- a notched trowel
- a grout float
Adhesive
If you are installing large tiles on either the floor or the walls, you should consider using adhesive. This will help to hold the tiles in place, as larger tiles are more likely to slip and move. However, ceramic tiles are actually porous, so if you use a dark coloured adhesive, be prepared for it to possibly show through the tile once it has set.
As a result, you should always use a very light coloured adhesive, especially when using light coloured tiles.
Tile spacers
Ceramic tiles are some of the easiest to lay, but you can ruin your tiling effect if you don’t use tile spacers. This is because tile spacers help you to maintain a steady gap between the tiles. This leads to a professional and stylish finish.
Tile Cutter
Whatever space you are tiling, you are almost guaranteed to need a tile cutter. You will need to cut tiles down to size at corners and around obstacles. Make sure you purchase extra tiles at the time, to prevent any little mistakes ruining your whole tiling project.
For more information or advice, contact us today at Tiles 2 Go.


